
: Step-by-Step Workflow, Tools & Tips
Introduction
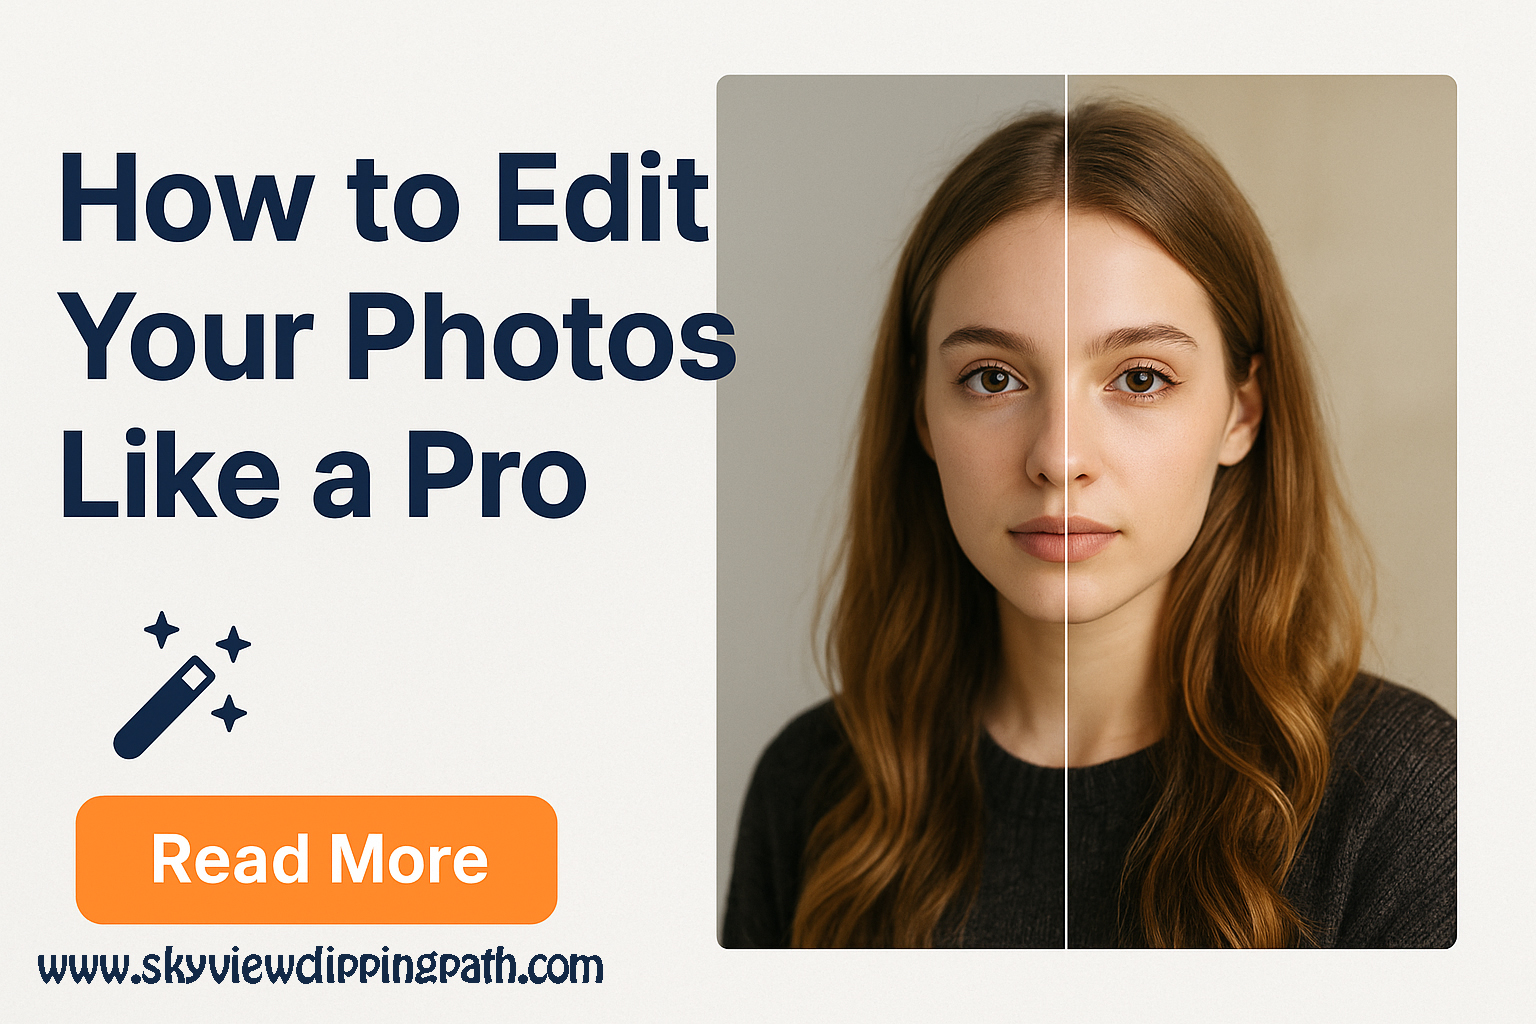
Editing photos like a pro isn’t about having the most expensive gear — it’s about knowing a reliable workflow, understanding the fundamentals (exposure, color, composition), and using tools and shortcuts that get you consistent results. Whether you shoot on a mirrorless camera, a smartphone, or a DSLR, these steps will help you turn raw captures into polished images that pop.
This guide walks you through a professional editing workflow, tool recommendations, practical tips, and finishing touches. Read on for a clear, repeatable process you can use for portraits, landscapes, product shots, and social content.
Why a Workflow Matters
Professionals don’t randomly tweak sliders. A workflow ensures:
- Consistency across images and shoots.
- Faster editing because each step has a purpose.
- Better results — you solve big-picture problems first, then refine details.
The core workflow we’ll use: Import → Cull → Global adjustments → Local adjustments → Retouch → Sharpen & Noise → Color grade → Export & Backup.
Tools You’ll Need (Quick overview)
Desktop software: Adobe Lightroom (classic or cloud), Capture One, and Photoshop for detailed retouching. Affinity Photo and Darktable are excellent alternatives.
Mobile: Lightroom Mobile, Snapseed, and VSCO.
Plugins & presets: Portraiture, Nik Collection, Luminar AI (for creative looks).
Hardware: A calibrated monitor, a decent mouse/tablet (Wacom or XP-Pen), and external hard drives for backups.
You don’t need every tool — choose one main RAW processor (Lightroom or Capture One) and learn it well.
Step-by-step Pro Workflow
1. Import and Backup
Import RAW files (always shoot RAW when possible). Apply a simple import preset (if you have one) to normalize file naming and metadata. Make a quick backup copy to a separate drive or cloud service immediately.
2. Cull (Select the best shots)
Use star flags or color labels to pick the keepers. Cull fast: remove out-of-focus, poor-exposure, duplicate frames first. Aim to reduce set by ~70–90% in the first pass. This saves time.
3. Global Adjustments (exposure, white balance, contrast)
Start with exposure and white balance. Fix these before color grading. Use a histogram to avoid clipping highlights or crushing shadows. Pull highlights down and bring shadows up to regain detail when necessary. Adjust contrast via the Tone Curve or Contrast slider — subtlety is key.
4. Crop & Straighten
Crop to strengthen composition (rule of thirds, leading lines). Straighten horizons and align verticals for architecture. Use aspect ratio depending on the final platform (4:5 for Instagram feed, 16:9 for widescreen, square for thumbnails).
5. Local Adjustments (Selective edits)
Use radial and graduated filters and adjustment brush to fix problem areas. For portraits: brighten eyes, dodge (lighten) hair highlights, and slightly warm skin tones. For landscapes: enhance foreground detail, darken dramatic skies slightly to add depth.
6. Retouching (remove distractions)
Use spot removal for minor distractions: dust spots, small blemishes, sensor spots. For portraits: frequency separation or healing/cloning to smooth skin while preserving texture (be subtle — keep pores). Clean edges and remove stray hairs or unwanted objects using Photoshop or similar.
7. Color Correction & Grading
Use HSL sliders to tweak specific colors (e.g., reduce green saturation in foliage). Avoid oversaturation. Instead, control vibrance and selectively boost colors. Color grade for mood: add a subtle teal-orange split tone for a cinematic look or gentle warm tones for lifestyle.
8. Sharpening & Noise Reduction
Apply sharpening at 100% preview; mask so sharpening affects only edges, not smooth skin or sky. Use noise reduction only when needed — don’t overdo it (it removes detail). For high-ISO images, balance sharpening and NR until details look natural.
9. Final Check & Export Settings
Zoom to 100% and inspect skin, edges, and highlights. Export with proper resolution and format: JPEG for web (sRGB), TIFF for print or layered Photoshop files, and keep a master RAW/PSD for future edits. Use output sharpening appropriate to the destination (screen vs print).
10. Organize & Backup
Tag images, add keywords, and captions. Backup master files to at least two locations (local external drive + cloud). Consider using a DAM (digital asset manager) for larger libraries.
Pro Tips & Shortcuts
- Less is more: Subtle edits look professional; heavy-handed adjustments often look amateur.
- Use presets as starting points: Create your own presets from finished edits and tweak per image.
- Keyboard shortcuts: Learn your app’s shortcuts — they cut editing time drastically.
- Calibrate your monitor: Color accuracy matters. Calibrate monthly if you edit often.
- Batch edits: Apply global adjustments to a series and then refine individually.
- Use masks: Masking is more powerful than brushes in many workflows — it’s non-destructive and repeatable.
Mobile Editing — Pro Results on the Go
Lightroom Mobile offers powerful RAW editing and selective adjustments. Steps:
- Import RAW DNG.
- Auto-adjust exposure and tweak WB.
- Use selective to brighten eyes/subject.
- Apply a subtle preset, reduce highlights, and add clarity.
- Export high-quality JPEGs for social.
Mobile: edit for the platform—bright, punchy images usually fare better on social feeds.
Common Mistakes to Avoid
- Over-smoothing skin (plastic-looking portraits).
- Oversharpening and leaving halos.
- Clipping highlights during editing without remedy.
- Ignoring color casts — fix WB early.
- Exporting in the wrong color space (use sRGB for web).
FAQs
- Do I need to shoot RAW to edit like a pro?
- RAW is highly recommended because it contains more tonal and color data than JPEG. It gives you more latitude for exposure and color corrections.
- Which software is best for beginners?
- Lightroom is beginner-friendly and powerful. Capture One is excellent for color and tethered shooting. Affinity Photo and Darktable are good low-cost alternatives.
- How much should I retouch portraits?
- Retouch to enhance, not replace. Preserve skin texture, remove temporary blemishes, and avoid heavy frequency separation unless the client expects fashion-level retouching.
- What export settings give the best quality for the web?
- Export as JPEG, sRGB color space, and a quality setting of 75–90, depending on size. Resize to the maximum display size required to keep file sizes lean.
- How do I fix blown highlights?
- Recover highlights using the Highlights slider, reduce contrast, and check the RAW file since RAW has more highlight detail than JPEG.
- Are presets cheating?
- Not if used as starting points. Presets save time and can be refined per image. Pro photographers create their own presets for consistency.
- How do I keep my editing consistent?
- Build a signature workflow, use presets, and organize color grading decisions in a consistent palette for a project or brand.
- How often should I calibrate my monitor?
- Monthly is a good baseline; professional studios often calibrate weekly.
Conclusion
Editing like a pro is a blend of technique, taste, and a repeatable workflow. Start by mastering global corrections — exposure and white balance — and then refine with local adjustments, retouching, and color grading. Use presets to speed up your work, but always tweak per image. Back up your originals, keep your edits non-destructive, and practice consistently. With these steps and tips, you’ll gain the confidence to transform ordinary captures into polished, professional images.