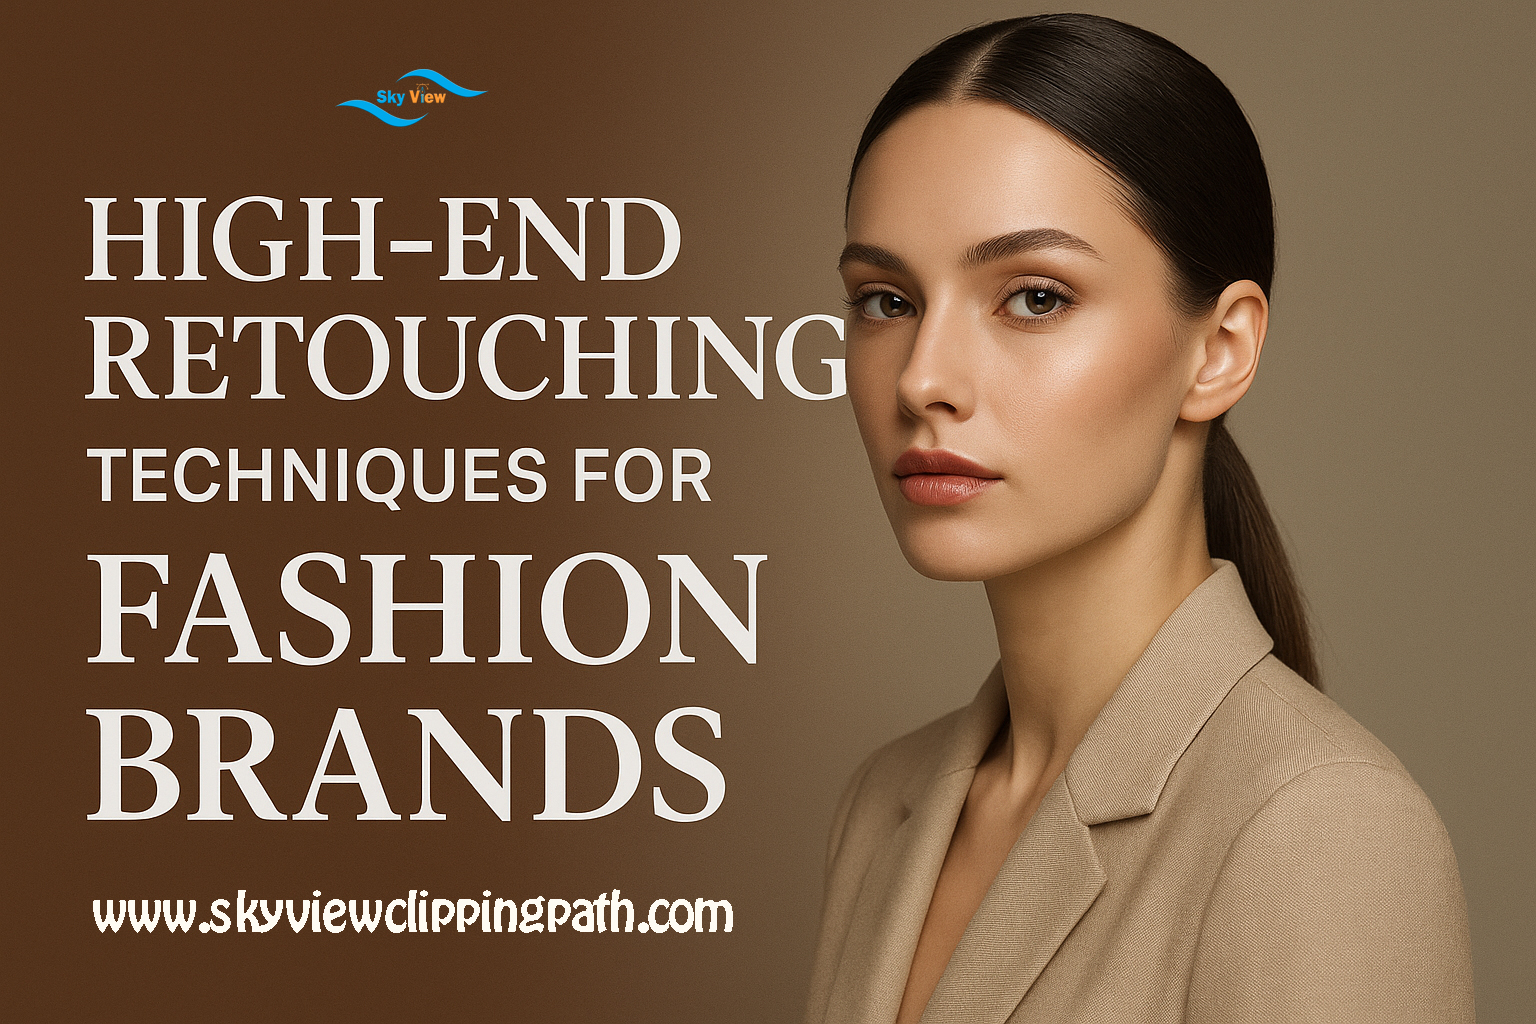
Introduction
High-end retouching for fashion brands is both an art and a science. It goes far beyond simple blemish removal — it’s about accentuating the designer’s vision, preserving texture and personality, and creating imagery that sells a lifestyle. For photographers, retouchers, and brand creative teams, mastering advanced techniques is essential to produce consistent, premium results that work across print, digital ads, lookbooks, and social campaigns.
Why High-End Retouching Matters for Fashion Brands
Fashion photography is a primary brand touchpoint. A single image can define how customers perceive quality, fit, and desirability. High-end retouching makes garments and models look their best while maintaining brand authenticity. It ensures that lighting, color, and texture communicate the intended mood and that garments appear true-to-life without deceiving consumers.
Core Principles of High-End Retouching
1. Preserve Texture and Character
High-end retouching favors subtlety. Over-smoothing destroys skin texture and makes images look artificial. The goal is to reduce distractions while preserving pores, fine lines, and hair strands so models remain identifiable and authentic.
2. Work Non-Destructively
Use layers, masks, and smart objects. A reversible workflow allows clients to request changes and future-proof assets for different media. Non-destructive edits help maintain the highest-quality source files for print and high-resolution formats.
3. Keep Color Consistent
Colors must reflect the product accurately. Color grading should support the mood of the campaign while ensuring garment colors remain true across devices and print processes.
High-End Retouching Techniques (Detailed)
1. Frequency Separation (Advanced)
Technique: Split an image into frequency layers — low frequency (color/tone) and high frequency (texture/detail).
Use: Remove uneven skin tones, small color casts, or subtle fabric blemishes without disturbing pores or fabric weave.
Best practices:
- Use 2–3 frequency layers for very high-res images to control micro-textures.
- Work on 16-bit files when possible to preserve tonal detail.
- Apply reduction with gentle brush strokes and feathered masks for localized control.
2. Dodge & Burn (Professional Grade)
Technique: Non-destructive dodge & burn using 50% gray layers set to Overlay or Soft Light.
Use: Sculpt facial features, emphasize fabric folds, restore natural highlights and shadows, and add depth.
Best practices:
- Use low-opacity brushes (4–10%) and build up gradually.
- Use separate layers for highlights and shadows, and mask carefully to avoid halos.
- Work with a Wacom or pressure-sensitive tablet for nuanced strokes.
3. Frequency-Aware Color Correcting
Technique: Isolate color shifts on the low-frequency layer while preserving texture on the high-frequency layer.
Use: Correct skin undertones, match fabric color across multiple frames, and remove environmental color casts.
Best practices:
- Use selective color, Curves, and Hue/Saturation adjustment layers with masks.
- Sample multiple areas to create a neutral reference (e.g., gray card or known white fabric).
4. High-Fidelity Skin Retouching
Technique: Combine spot healing, clone stamping, and micro-texture retention via high-frequency editing.
Use: Remove transient blemishes (zits, stray hairs) while preserving permanent traits (scars, freckles) where brand tone demands authenticity.
Best practices:
- Leave freckles/beauty marks if the campaign emphasizes diversity or authenticity.
- Use cloned textures from nearby areas that match grain and luminosity.
5. Fabric & Garment Refinement
Technique: Remove stray threads, fix seam distortions, enhance fabric drape with localized dodge & burn, and retouch pattern continuity.
Use: Make garments look tailored and premium; remove distractions like lint or wrinkles in product shots.
Best practices:
- When altering seams or fit, keep changes realistic — avoid misrepresenting product proportions.
- For pattern-heavy garments, use content-aware tools carefully; manual patching often yields better results.
6. Eye and Lip Enhancement
Technique: Sharpen and add subtle contrast to the eyes; selectively enhance catchlights; adjust lip saturation and texture without overdoing.
Use: Make portraits pop and hold the viewer’s

attention.
Best practices:
- Avoid whitening beyond natural sclera tones; over-whitening looks fake.
- Use tiny sharpening masks around the iris while protecting the skin.
7. Hair Retouching & Strand Work
Technique: Use custom brushes and the Pen tool to recreate or refine hair strands; remove flyaways with composite patches.
Use: Create clean silhouettes and ensure hair reads well against backgrounds.
Best practices:
- Use multiple layers for hair cleanup: a base pass for major stray hairs and a micro pass for detailing.
- Maintain translucency near edges and avoid hard cutouts unless stylistically intended.
8. Color Grading & Mood
Technique: Global and selective color grading via Curves, Color Lookup tables (LUTs), and gradient maps.
Use: Establish brand mood — moody editorial, bright commercial, warm lifestyle, or cool urban.
Best practices:
- Create several graded versions for different channels (print vs. Instagram).
- Use soft color overlays and preserve skin midtones with careful masking.
9. Sharpening & Output Preparation
Technique: Apply controlled sharpening in a high-pass or smart sharpen workflow tailored to the final medium.
Use: Enhance perceived detail for web and print while avoiding halos.
Best practices:
- Convert to the final output color space early (e.g., Adobe RGB for print) to judge color shifts.
- Resize and sharpen specifically for target resolutions: different approaches for 72ppi web and 300ppi print.
Workflow Tips & Team Collaboration
- Deliver layered PSDs and flattened exports (JPEG/PNG/TIFF) for each channel.
- Use versioning: v01 for raw selects, v02 for rough retouch, v03 for client review, vFinal for approved.
- Keep a retouching style guide that documents frequency separation settings, LUTs, fill layers, and preferred brushes for brand consistency.
- Use cloud asset management that tracks metadata (photographer, retoucher, color profile, approved date).
Legal & Ethical Considerations
Be transparent with clients about what is retouched — especially when retouching influences sizing, body shape, or product representation. For e-commerce, avoid edits that mislead buyers about fit or color.
Frequently Asked Questions (FAQs)
Q: How much retouching is too much?
A: It’s too much when the subject loses natural texture or when edits misrepresent the product. Aim for realism with elevated refinement.
Q: Should retouching differ between print and web?
A: Yes. Print needs higher resolution and a different color profile (CMYK or high-bit RGB), while web files can be lighter with sharpening tailored for the screen.
Q: Do fashion brands need to keep original files?
A: Absolutely. Originals are critical for future campaigns, re-editing, and legal proof. Always archive raw and layered PSD versions.
Q: How long does a high-end retouch take?
A: It varies — a single beauty portrait can take 1–4 hours; a full campaign pass across many images may require days. Efficiency improves with templates and consistent workflows.
Q: Can automation replace manual retouching?
A: Automation helps (batch color correction, basic frequency separation actions), but high-end retouching still needs manual artistry for final polish.
Conclusion
High-end retouching is an indispensable tool for fashion brands seeking to project quality, consistency, and personality. By combining technical precision—frequency separation, dodge & burn, color grading—with a non-destructive, ethically-minded workflow, creative teams can produce imagery that elevates brand perception while remaining honest to the product. Invest in training, a consistent style guide, and collaborative version control to scale retouching across campaigns and channels. When done right, retouching doesn’t hide reality — it reveals the best version of your brand.